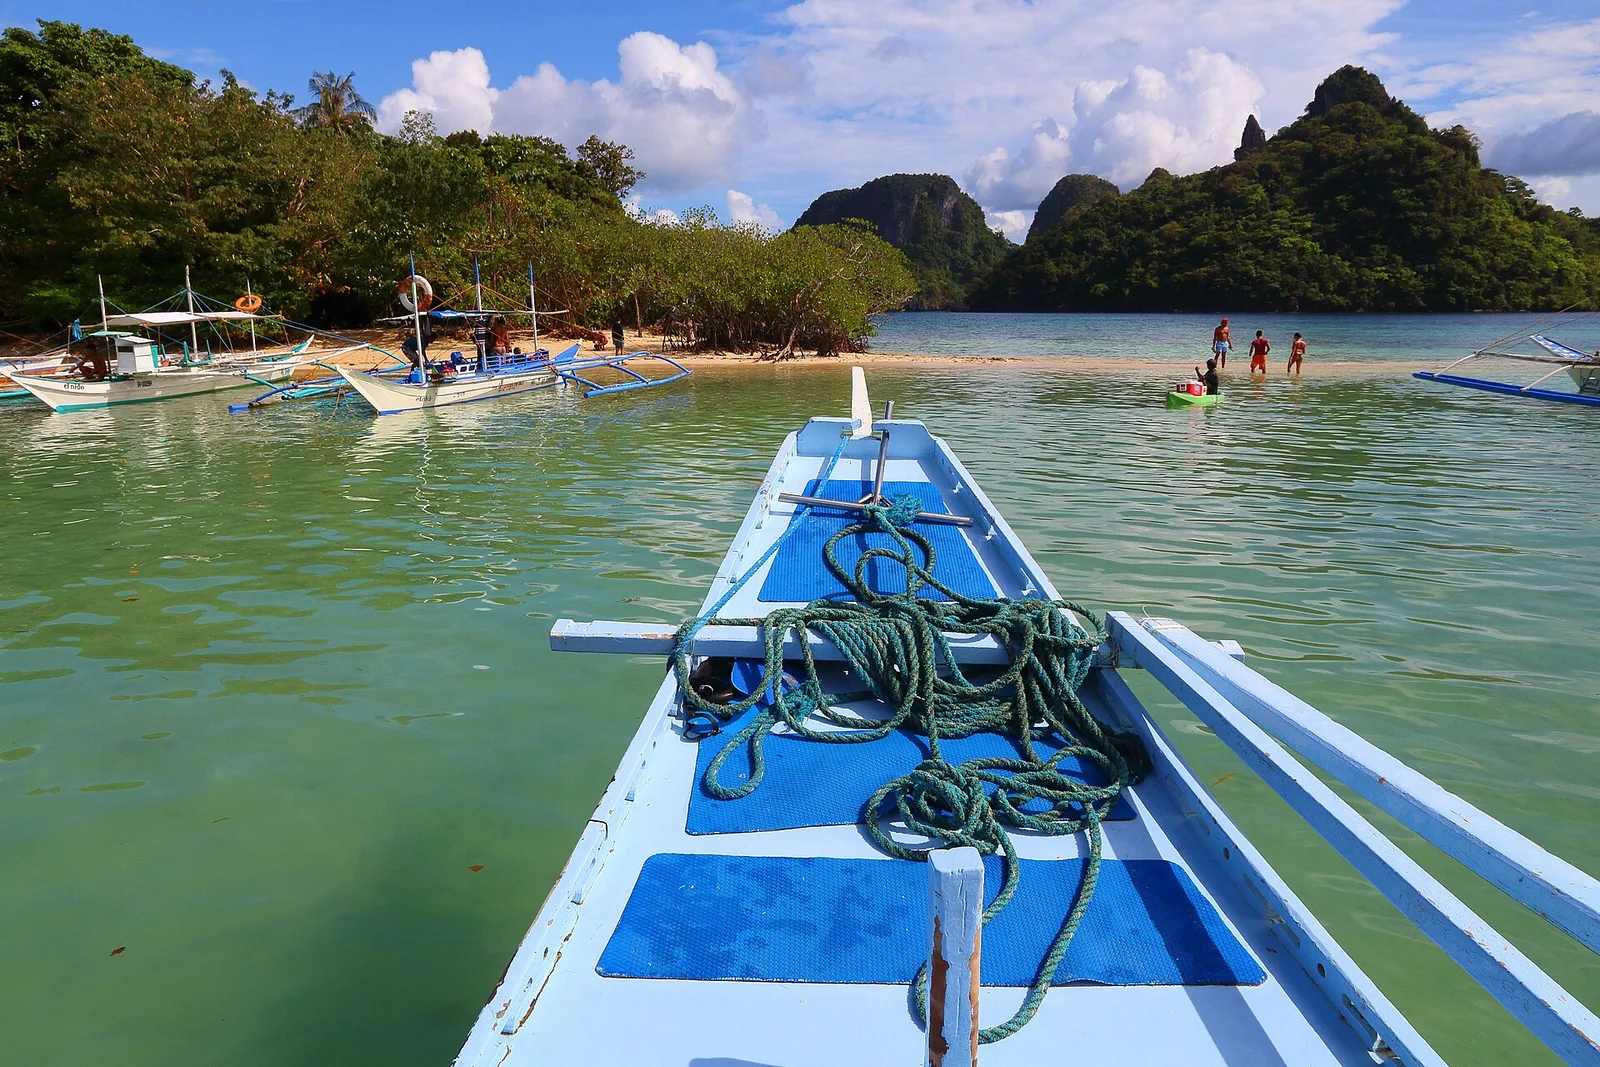
Picture this: it is your fourth morning in the Philippines and you are perched on the bow of a wooden bangka boat, salt spray on your face, drifting into a lagoon so green it does not look real. A vendor two islands ago sold you the freshest mango you have ever eaten for the price of a bus fare. That is the magic of a month here - enough time to slow down, get sunburned, get lost, and fall for a country of 7,641 islands. After years of looping this archipelago, here is the exact 30-day route I hand friends who ask, with real 2026 costs and zero fluff.
Philippines 1-Month Backpacking Itinerary 2026 + Costs
Destinations#philippines backpacking itinerary#philippines travel budget 2026#one month philippines#backpacking southeast asia#el nido palawan#siargao travel guide
Trip.com
Search on Trip.comHotels in Philippines
Compare live prices via Travelpayouts — targeted for this guide.
How This Itinerary Works (Read This First)
The Philippines is huge and spread out, so the single biggest mistake backpackers make is trying to see everything and burning half their budget on last-minute flights. This plan moves roughly north to south, then loops you back, so you almost never backtrack. You will take three or four cheap internal flights and a handful of ferries. Book the flights the moment your dates are locked - AirAsia, Cebu Pacific, and PAL fares can be a third of the walk-up price if you grab them a month or two out. Check routes and prices on our flights page before you commit.
One honest warning: this is a wet-and-dry country. If you travel between June and November, build in a 2-3 day buffer for typhoon delays. Boats get cancelled, and a missed connection can wreck a tight schedule. A month gives you room to breathe - use it.
Week 1: Manila, El Nido and Coron (Palawan)
Fly into Manila, sleep off the jet lag, then get out fast - Manila is a launchpad, not a destination. Grab an early flight to Palawan, the postcard star of the whole trip.
Trip.com
See all tours in Philippines on Trip.comTours & activities in Philippines
Hand-picked experiences in Philippines — book on Trip.com with instant confirmation.
- Day 1: Land in Manila. Eat, sleep, sort a local SIM.
- Day 2: Fly Manila to El Nido (or Puerto Princesa plus a van). Settle in.
- Days 3-5: El Nido island-hopping Tours A and C, kayaking, sunset beers. Our full El Nido guide maps out which tours are actually worth it.
- Days 6-7: Ferry or flight to Coron. Dive the WWII shipwrecks, swim Kayangan Lake. See the Coron guide for the best day trips.
The El Nido to Coron ferry (around 1,500 PHP / 27 USD, 3-4 hours) is the classic move, but check the schedule - it does not run daily and seas can be rough.
Week 2: Cebu, Bohol and Siquijor
Fly from Coron or Puerto Princesa to Cebu, the busy hub of the central Visayas and your gateway to three brilliant islands.
- Day 8: Fly to Cebu City. Recover, eat lechon.
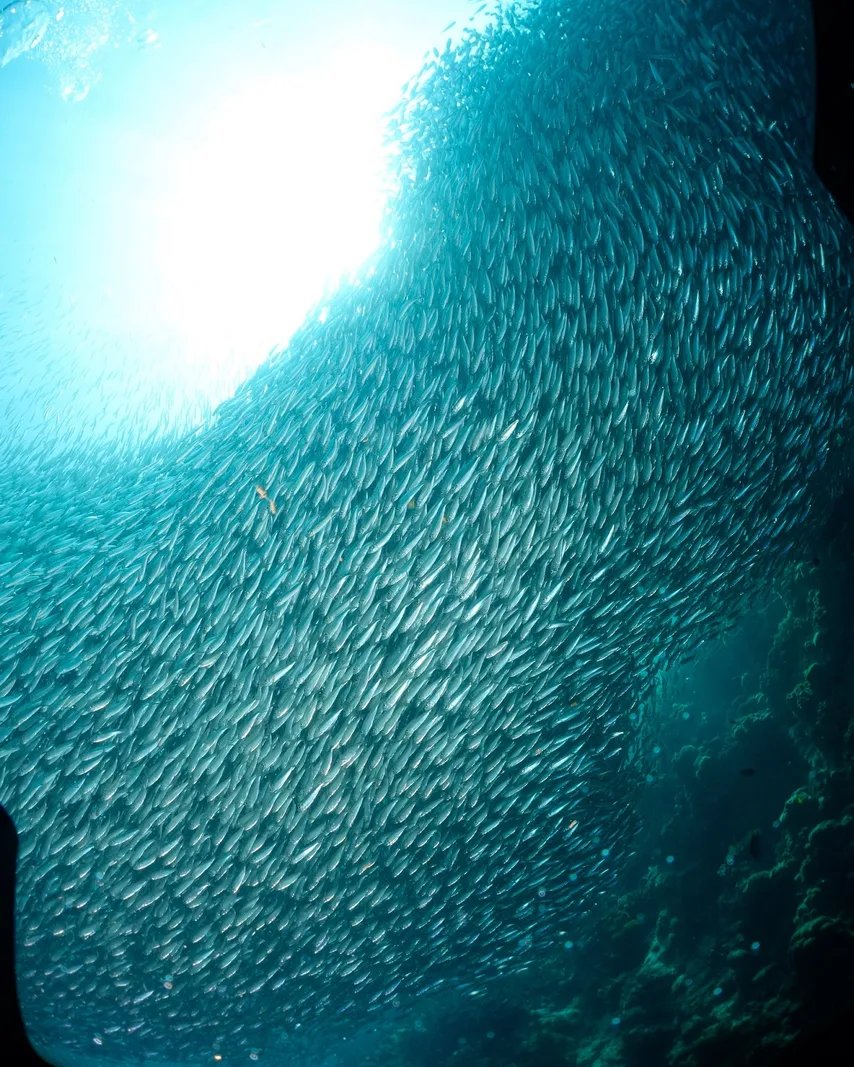
- Days 9-10: Head south to Moalboal for sardine runs and the Kawasan Falls canyoneering. Our Cebu guide covers the south-coast circuit.
- Days 11-12: Ferry to Bohol. Chocolate Hills, tarsiers, and the Loboc River. The Bohol guide has the loop sorted.
- Days 13-14: Ferry to sleepy, mystical Siquijor. Rent a scooter, chase waterfalls, watch the sun drop from a beachfront bar.
The Visayas are ferry country - most hops here cost 300-800 PHP (5-14 USD) and take one to three hours. This is the cheapest, most flexible stretch of the whole trip.
Week 3: Siargao Surf and Camiguin
Now for the country's surf-and-chill capital. From Cebu or Bohol, catch a short flight to Siargao - the vibe shift is immediate.
- Day 15: Fly to Siargao. Scooter to General Luna.
- Days 16-18: Surf Cloud 9 (or take a lesson), island-hop to Naked, Daku and Guyam, swim in the Magpupungko rock pools. Our Siargao guide is your bible here.
- Days 19-20: Ferry and bus over to Camiguin, the tiny volcanic island of hot springs, cold soda springs, and the eerie Sunken Cemetery.
- Day 21: Slow day. Sleep in, eat, do nothing. You have earned it.
Siargao has grown fast, so book your accommodation ahead in peak surf season (September to November). Compare local stays on our stays page to avoid arriving with nowhere to sleep.
Week 4: The Wildcard - Bantayan or Malapascua
Your last week is a choose-your-own-adventure. Loop back toward Cebu and pick a chill finale that fits your energy.
- Bantayan Island: Powder-white sand, barely any crowds, cheap beach huts. The ultimate wind-down.
- Malapascua: The only reliable spot on earth to dive with thresher sharks at dawn. Worth it for divers.
- Back to a familiar favourite: If a place stole your heart earlier, spend your final days there instead of chasing new ground.
- Days 22-26: Your chosen island. Beach, dive, read, repeat.
- Days 27-28: Ferry and bus back to Cebu City. Last-minute souvenirs and one final feast.
- Days 29-30: Fly Cebu to Manila (or direct out of Cebu if your airline allows) and home. Leave a full buffer day before your international flight.
The Real Budget: PHP and USD Breakdown
Here is what your money actually goes on. These are honest 2026 figures, not the fantasy numbers you see elsewhere.
Daily backpacker budget (dorms, ferries, street food):
- Dorm bed: 500-900 PHP (9-16 USD)
- Food and water: 500-800 PHP (9-14 USD)
- Local transport and scooter: 300-500 PHP (5-9 USD)
- One activity or tour every couple of days: around 700 PHP/day averaged (12 USD)
- Daily total: roughly 2,000-2,900 PHP (35-52 USD)
Daily mid-range budget (private rooms, some flights, nicer food):
- Private room or budget hotel: 1,800-3,500 PHP (32-62 USD)
- Food and drinks: 900-1,500 PHP (16-27 USD)
- Transport and tours: 1,200-1,800 PHP (21-32 USD)
- Daily total: roughly 3,900-6,800 PHP (69-121 USD)
Internal flights (book early!): Budget 12,000-18,000 PHP (215-320 USD) total for the three or four flights in this route if you book ahead. Leave it late and you can easily double that.
Total 30-day trip cost, excluding your international flight:
- Backpacker: around 75,000-100,000 PHP (1,330-1,780 USD)
- Mid-range: around 135,000-215,000 PHP (2,400-3,830 USD)
Yes, you really can backpack the Philippines for well under 2,000 USD a month. Few countries give you this much beauty for the money.
Smart Tips From Someone Who Learned The Hard Way
- Book internal flights first. They are the single biggest variable cost. Lock them the moment your dates are set.
- Never backtrack. This route flows in one direction on purpose. Zig-zagging burns days and cash.
- Buffer for typhoons. In wet season, keep 2-3 flexible days. Do not book a same-day international connection off a ferry.
- Carry cash. Many islands have one flaky ATM or none. Withdraw in cities before you hop.
- Get a local SIM at the airport. Globe or Smart data is cheap and a lifesaver for maps and ferry updates.
- Eat local. Carinderia (turo-turo) meals are delicious and cost a fraction of tourist restaurants.
- Slow down. Three islands done properly beat six rushed. When in doubt, stay an extra night.
Want more route ideas and island deep-dives before you go? Browse the rest of the PANA.PH blog - we live and breathe this stuff.
Frequently Asked Questions
Is one month enough time to backpack the Philippines?
It is a sweet spot. One month lets you cover the greatest hits - Palawan, the Visayas, and Siargao - without feeling rushed, while leaving buffer for weather delays. You could easily spend three months and still miss islands, but 30 days delivers the classic highlights beautifully.
How much money do I need for a month in the Philippines?
A budget backpacker should plan around 75,000-100,000 PHP (1,330-1,780 USD) for 30 days, excluding international flights. Mid-range travellers who want private rooms and more flights should budget 135,000-215,000 PHP (2,400-3,830 USD). Internal flights are the biggest swing, so book them early.
Should I take ferries or flights between islands?
Both. Use flights for long jumps that would otherwise eat a full day (Manila to Palawan, Cebu to Siargao) and ferries for short, scenic hops within the Visayas, which are cheap and flexible. Ferries save money; flights save time. This itinerary balances the two so you are not stuck on a boat for 12 hours.
When is the best time to do this Philippines itinerary?
The dry season from December to May offers the calmest seas and most reliable flights, with March and April the sunniest. June to November is wet and typhoon-prone but far cheaper and quieter - just build in extra buffer days and stay flexible with ferry schedules.
Is the Philippines safe and easy for solo backpackers?
Very. English is widely spoken, the backpacker trail is well established, and Filipinos are famously warm and helpful. Use the usual common sense with valuables and night travel, keep an eye on weather warnings, and you will find it one of the friendliest countries in Asia to travel solo.

PANA.PH Editorial Team
Philippines travel desk
The PANA.PH travel desk researches, books and re-checks Philippines travel logistics — fares, ferry schedules, government fees and permit rules — and publishes what it can verify.
🏡 Real local stays (book direct)
Hand-picked homestays and guesthouses — book direct, no markup.
Browse all local stays →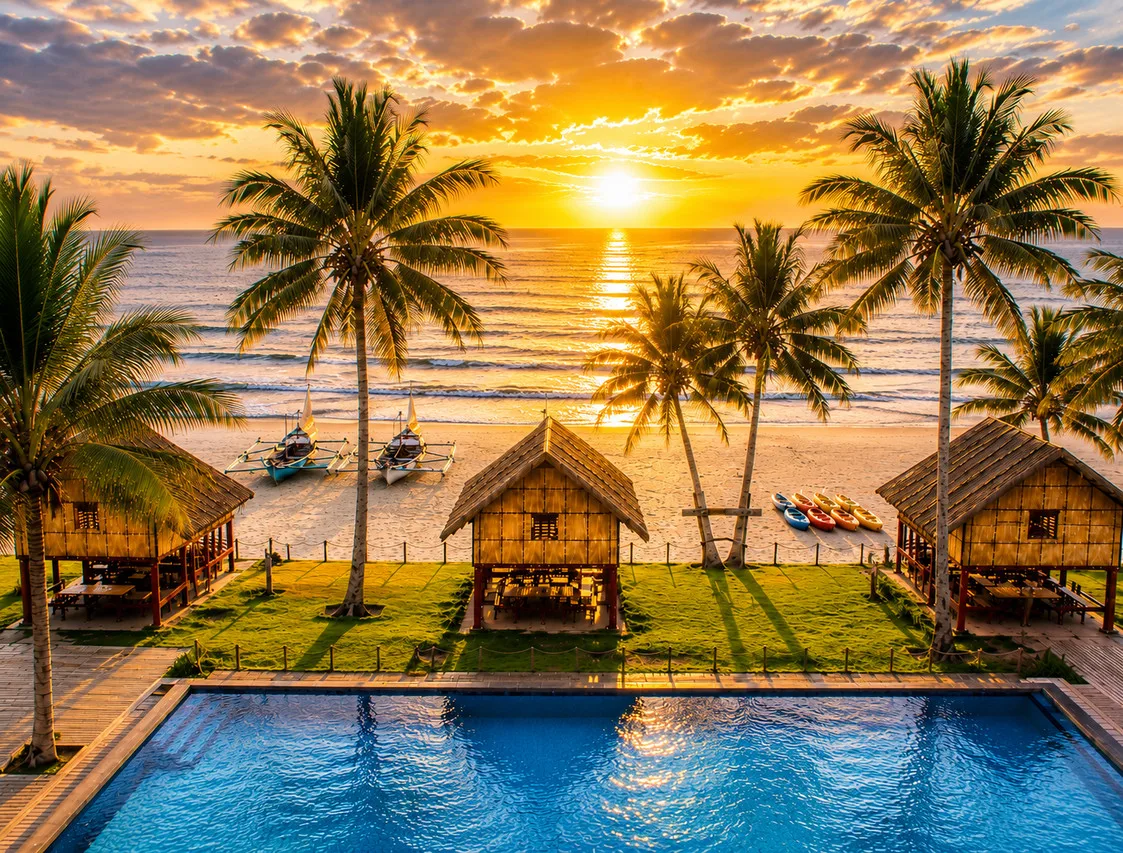
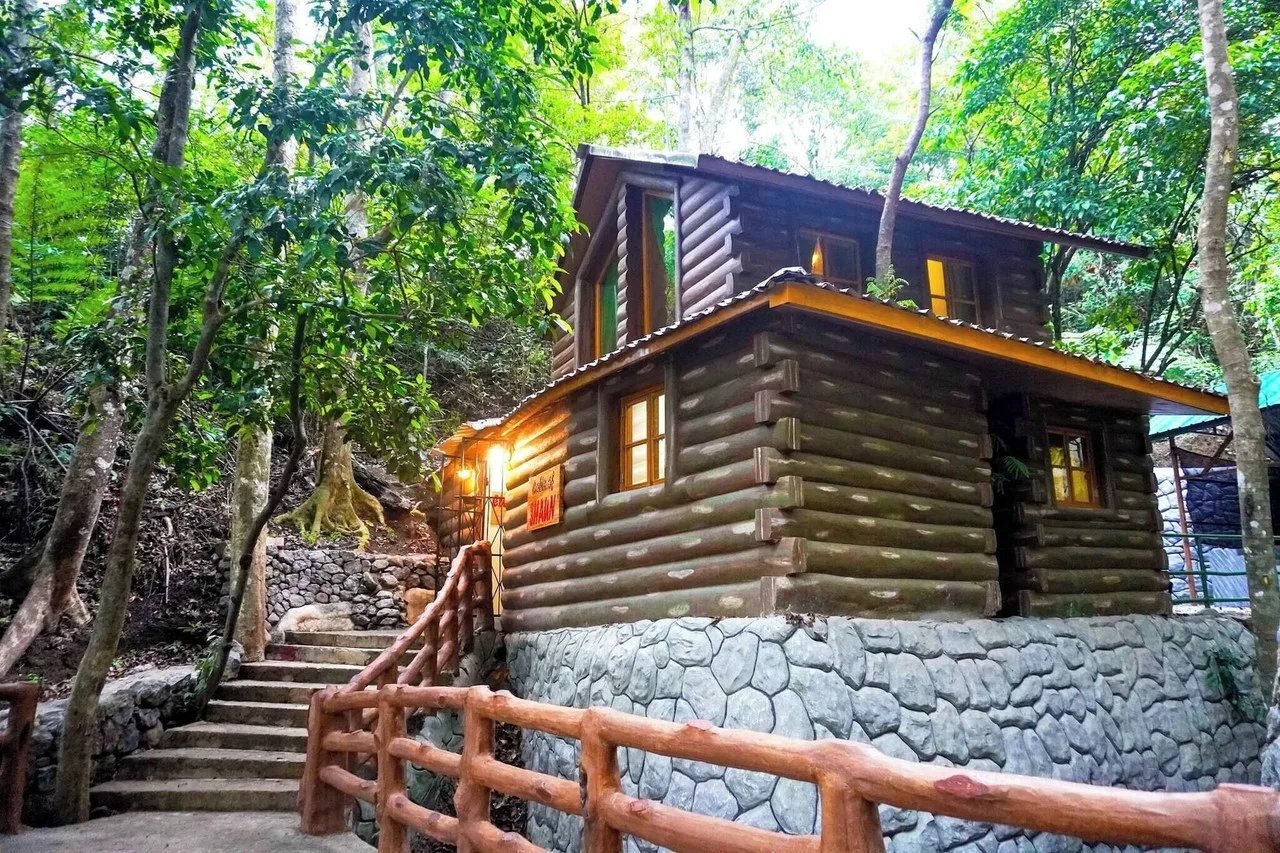
🌊 Popular activities (book instantly)
Island hopping, canyoneering, whale sharks — real Klook/GetYourGuide options.
View all activities →